

There’s something almost hypnotic about the sound of flowing water. It calms the mind, elevates the mood, and turns an ordinary space into something extraordinary. That’s exactly why artificial waterfalls have become one of the hottest trends in both home design and landscaping — and honestly, once you see one done right, you’ll understand the obsession.
Whether you’re dreaming of a dramatic outdoor water feature that becomes the centerpiece of your backyard, or a sleek indoor wall waterfall that adds a spa-like ambiance to your living room, this guide covers everything you need to know. From choosing the right design and materials to understanding real installation costs and long-term maintenance, consider this your complete blueprint for building an artificial waterfall that looks stunning and lasts for years.
What Are Artificial Waterfalls?
Artificial waterfalls are man-made water features designed to mimic the natural flow and aesthetic of real waterfalls. Unlike natural waterfalls formed by geological processes, these are engineered structures that use pumps, reservoirs, and channels to circulate water in a continuous loop. They can range from a simple tabletop fountain to a multi-tiered outdoor cascade spanning several feet.
What makes them so appealing is the flexibility. You’re not limited by geography or terrain — with the right design and materials, you can have a cascading waterfall in your apartment, backyard, garden, or even your office lobby. The technology behind them has advanced significantly over the past decade, making them more energy-efficient, quieter, and easier to maintain than ever before.
Types of Artificial Waterfalls
Outdoor Garden Waterfalls
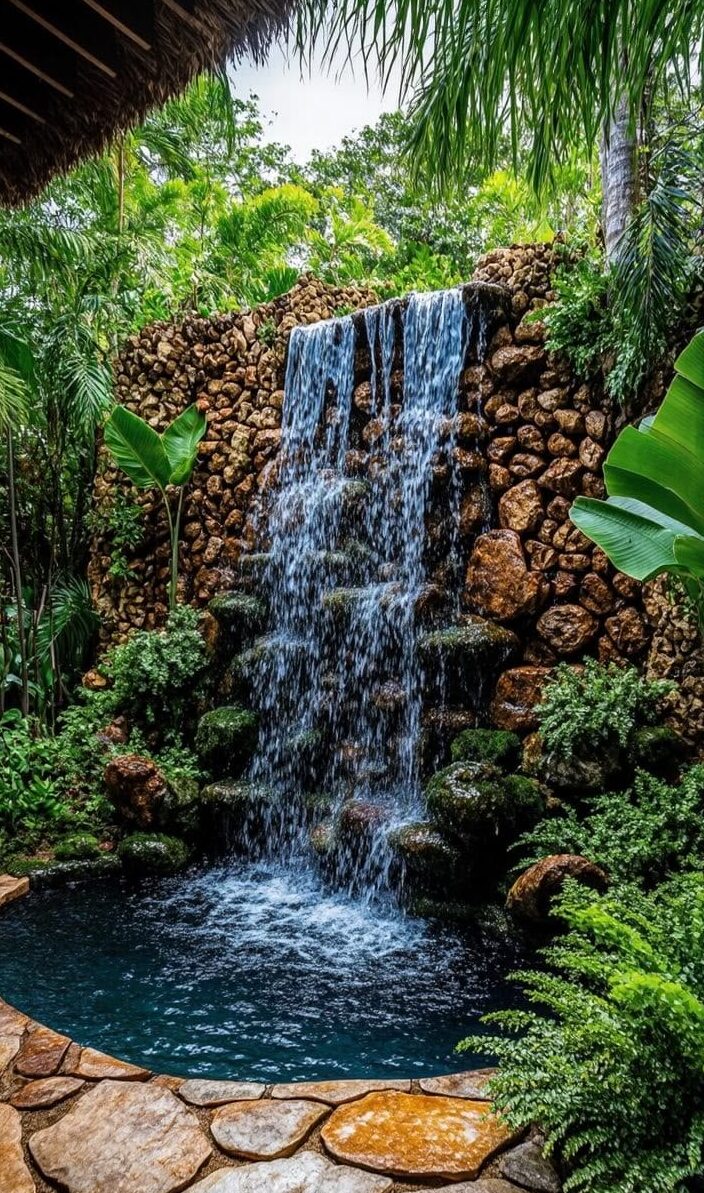
These are the most common type and typically feature natural stone, boulders, or pre-formed rock panels arranged to guide water downward into a pond or basin. They work beautifully as focal points in landscaped gardens and pair well with koi ponds, native plants, and ambient lighting. If you’ve been exploring above-ground pool ideas for summer, adding a small waterfall feature nearby can completely transform the backyard atmosphere — check out these creative above-ground pool ideas for inspiration on blending water features with your outdoor setup.
Indoor Wall Waterfalls
Also called water walls or panel waterfalls, these feature water sheeting down a flat surface — glass, acrylic, slate, or stainless steel — mounted flush against or slightly away from a wall. They’re incredibly popular in modern interior design, often used in entryways, living rooms, and even bedrooms for their calming effect.
Pondless Waterfalls
A pondless waterfall eliminates the open water basin entirely. Water flows down the feature and disappears into an underground reservoir, then gets recirculated. These are ideal for families with young children since there’s no standing water, and they require significantly less maintenance than traditional pond-based setups.
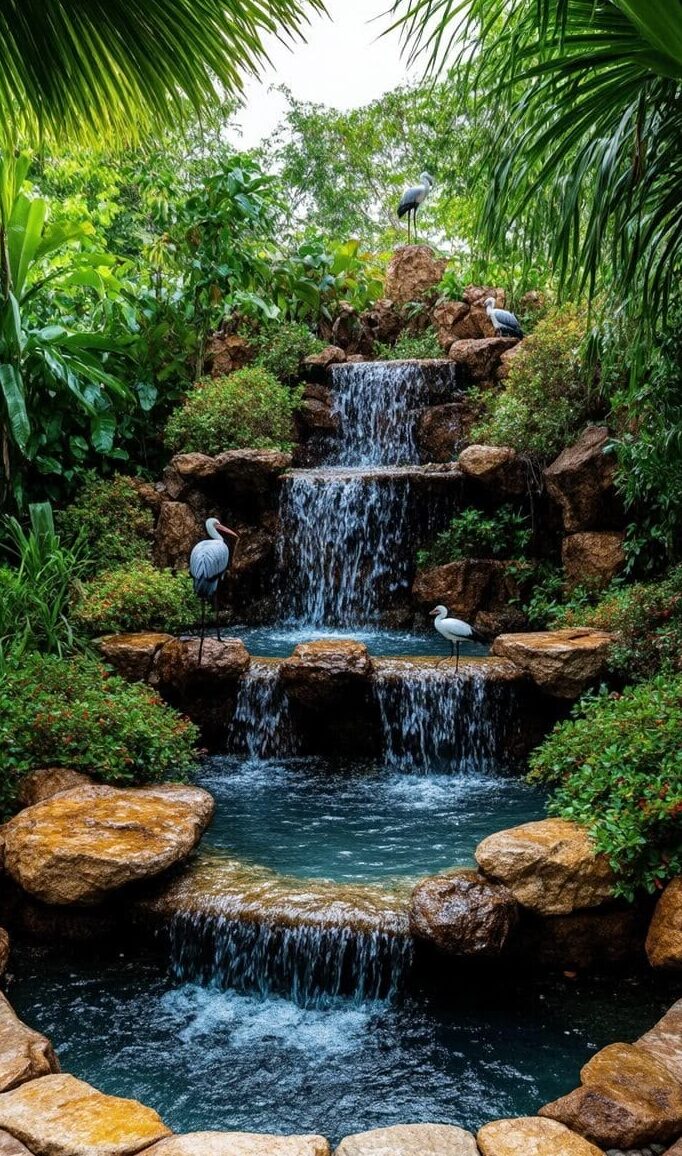
Stacked Stone and Boulder Waterfalls
Built using natural or manufactured stacked stone, these mimic rugged mountain streams. They’re often used in larger properties and can be scaled up dramatically for a genuinely impressive effect.
Tabletop and Miniature Waterfalls
Perfect for small apartments, offices, or meditation rooms, tabletop waterfalls are compact water features that sit on a desk or shelf. They provide the same calming ambient sound on a much smaller scale and are typically plug-and-play with minimal setup.
Design Ideas for Indoor and Outdoor Spaces
Outdoor Design Concepts
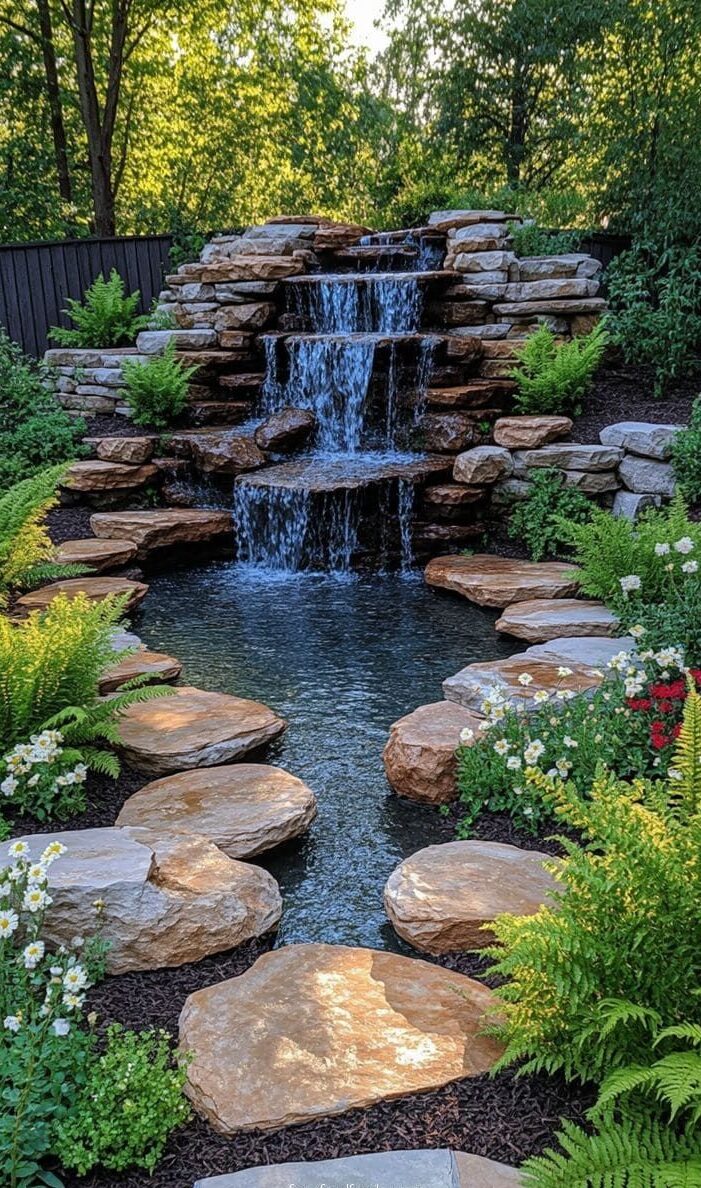
For outdoor spaces, the goal is usually to integrate the waterfall naturally into the landscape. Think layered stonework with pockets of ferns and moss growing between the rocks, or a tiered cascade flowing into a small koi pond edged with ornamental grasses. Lighting is everything here — underwater LED lights and strategically placed spotlights can turn a simple water feature into a nighttime showstopper.
A popular design trend right now is the naturalistic stream-style waterfall, where water meanders down a winding rock channel before reaching a basin. It looks effortless, but the engineering behind it involves careful slope calculation and rock placement to control flow speed and sound level.
If you have a smaller yard, a wall-mounted outdoor waterfall using slate panels or concrete boards is a space-efficient option that still delivers major visual impact. These work especially well mounted against a garden fence or exterior wall.
Indoor Design Concepts
Indoor waterfalls are where creativity really gets to shine. Glass panel waterfalls in a monochrome color scheme feel ultra-modern and sleek. Copper or brushed bronze wall features add warmth and work beautifully in rustic or industrial-style interiors. For a more organic feel, a living wall waterfall — combining moss, plants, and flowing water — is one of the most visually stunning options available.
If you’re designing a teen’s bedroom or a personal retreat, a small wall waterfall with colored LED backlighting can double as both a design statement and a sleep aid. For bedroom décor ideas that incorporate calming elements, you might find useful inspiration in this guide to teen girl bedroom ideas that touches on relaxing ambiance concepts.
Materials Used in Artificial Waterfalls
The materials you choose will define both the look and the longevity of your waterfall. Here’s a breakdown of the most common options:
Natural Stone (granite, slate, limestone) is the go-to for outdoor waterfalls that need to look realistic. It’s durable, weathers beautifully, and is available in countless textures and colors. The downside is the weight and cost — large stones require professional installation.
Manufactured or Faux Rock panels are lightweight fiberglass or polyurethane replicas of natural stone. They’re significantly cheaper and easier to work with, and from a distance, they’re nearly indistinguishable from the real thing. Great for DIY builders on a tighter budget.
Glass and Acrylic are the materials of choice for modern indoor water walls. Tempered glass gives a premium, clean look, while acrylic is lighter and more shatter-resistant — better for households with kids.
Slate and Basalt tiles are often used for their naturally smooth surface, which helps water flow evenly without splashing. They also have an earthy, sophisticated look that works in both indoor and outdoor contexts.
Stainless Steel and Copper work well for contemporary or industrial-style designs and are extremely low-maintenance since they don’t absorb water or moss.
Step-by-Step Installation Process

Step 1 — Plan Your Layout and Design
Before buying anything, measure your space carefully and decide on the scale of your feature. Consider water flow direction, proximity to power outlets (you’ll need a pump), and drainage. Sketch out the design or use landscaping software to visualize it. If your feature involves significant excavation or wall mounting, consult a structural expert first.
Step 2 — Choose Your Pump
The pump is the heart of the system. You’ll need to calculate the flow rate based on the height and width of your waterfall. A general rule is 100 GPH (gallons per hour) of pump capacity for every inch of waterfall width. Submersible pumps work well for most residential features and are relatively easy to install and maintain.
Step 3 — Build the Frame or Excavate the Basin
For outdoor waterfalls, this step involves digging the basin or pond area, laying a rubber liner to prevent leaks, and constructing the stone framework. For indoor wall features, a custom frame (typically steel or treated wood) is mounted to the wall studs, and a catch basin is built at the base.
Step 4 — Install the Water Distribution System
This involves running the pump tubing up through or behind the structure so water reaches the top and flows down correctly. The distribution pipe at the top is usually a perforated bar or trough that ensures even water spread across the surface.
Step 5 — Place Your Materials and Seal
Lay your stone, tile, or panel materials according to your design. Use waterproof mortar or construction adhesive suitable for wet conditions. Seal all joints and edges thoroughly — this step is critical for preventing leaks and structural damage over time.
Step 6 — Test, Adjust, and Add Finishing Touches
Fill the reservoir, run the pump, and watch where the water flows. Adjust stone placements or use foam filler to redirect unwanted streams. Once the flow is perfect, add plants, lighting, and decorative elements to complete the look.
Cost Breakdown: Budget to Premium
One of the first questions people ask is, “How much does an artificial waterfall cost?” The honest answer is: it depends enormously on size, materials, and whether you’re going DIY or hiring professionals.
Budget Range ($300 – $1,500): Small tabletop or pre-formed kit waterfalls, basic pondless systems in compact spaces, and simple faux rock panel features fall into this range. Most can be handled as weekend DIY projects.
Mid-Range ($1,500 – $6,000): This covers mid-size outdoor garden waterfalls with natural stone, professional-grade pumps, and basic lighting. Indoor water wall panels in this range typically use quality acrylic or entry-level tempered glass.
Premium Range ($6,000 – $25,000+): Large-scale natural stone waterfalls with custom basins, integrated pond systems, professional landscaping, high-end glass water walls for commercial spaces, or fully automated smart-home-integrated features fall into this tier. Ongoing electricity costs for the pump run roughly $10–$40/month depending on pump size and usage.
Labor costs can add 30–50% on top of material costs if you hire professionals, so getting at least two or three quotes is always a smart move.
Maintenance Tips to Keep It Running Beautifully
A well-maintained artificial waterfall can last 15–25 years with minimal issues. Here’s what the upkeep actually looks like day to day:
Clean the pump every 3–6 months: Sediment, algae, and debris clog impellers and reduce flow. A quick rinse and check will add years to your pump’s life. Always follow the manufacturer’s guidance on cleaning frequency.
Monitor water levels weekly: Evaporation — especially in summer — can drop water levels fast, which causes the pump to run dry and burn out. Top up the reservoir regularly.
Treat water with algaecide or beneficial bacteria: This keeps the water clear and prevents green buildup on your stones. For outdoor features, an ionizer or UV clarifier is worth the investment.
Winterize if you’re in a cold climate: Drain the system completely before temperatures drop below freezing to prevent pipe and pump damage. Many homeowners store their pumps indoors during winter months.
Inspect sealants and mortar annually: Small cracks let water escape into surrounding structures, causing long-term damage. A tube of waterproof sealant applied annually keeps things tight.
Common Mistakes to Avoid
Even well-intentioned projects go sideways without proper planning. Here are the mistakes that trip up most first-time builders:
Undersizing the pump is the number one error. A pump that’s too weak will produce a disappointing trickle and burn out quickly trying to compensate. Always go slightly larger than your calculations suggest.
Skipping the liner on outdoor features leads to significant water loss and can damage nearby foundations or garden beds. A high-quality EPDM rubber liner is non-negotiable.
Ignoring electrical safety around water is obviously dangerous. All outdoor pumps and lighting must be on GFCI (ground fault circuit interrupter) protected outlets and rated for outdoor or wet use. This is not a corner worth cutting.
Placing the feature in direct, all-day sun accelerates algae growth and water evaporation dramatically. Partial shade positioning is almost always preferable.
Neglecting sound planning is a subtle one — a waterfall that sounds like a rushing highway is just as problematic as one that’s barely audible. Flow rate, drop height, and basin design all affect sound, so test before you finalize.
Pro Tips for Getting the Most Out of Your Waterfall
- Add a timer to your pump so it runs only during hours you’re actually home or awake. This saves electricity and extends pump life significantly.
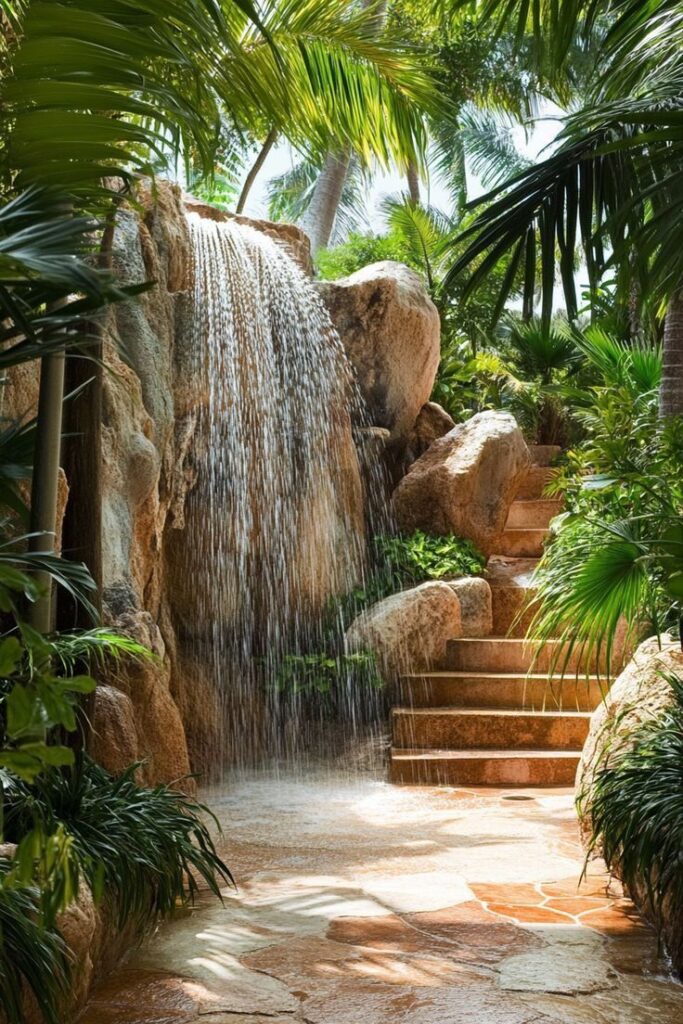
- Layer your plants strategically — moisture-loving plants like ferns, hostas, and creeping jenny thrive near waterfalls and make the feature look naturalistic almost instantly.
- Use multiple smaller stones rather than fewer large boulders if you’re on a budget — the layered look is more visually complex and easier to adjust.
- Install a simple spillway box at the top to ensure an even water curtain rather than an uneven, patchy flow.
- For indoor features, choose a matte finish basin rather than glossy — it hides water spots and calcium buildup far better between cleans.
Conclusion: Make the Flow Happen
An artificial waterfall isn’t just a design feature — it’s an experience. It changes how a space sounds, feels, and functions. Whether you’re creating a zen backyard retreat, upgrading a bland garden wall, or adding a statement piece to your living room, the investment almost always pays off in satisfaction and added property value.
The key is starting with a clear plan, choosing materials suited to your climate and budget, and not rushing the installation process. Done right, your artificial waterfall will be the most talked-about feature of your home — a daily reminder that with a little creativity and the right guidance, you really can bring nature’s beauty home on your own terms. Now stop planning and start building.


