

A light switch is usually the last thing anyone thinks to decorate. It sits on the wall, plain and forgettable, while every other surface around it gets a fresh coat of style.
But here’s the truth: switch board art ideas are one of the easiest, cheapest ways to make a wall feel finished. A few dollars and a little creativity can turn a boring plastic plate into a tiny piece of art that guests actually notice.
In this guide, you’ll find 13 creative switch board art ideas that fit every budget and every style, from quick DIY projects to elegant statement upgrades. Whether you rent or own, love bold color or soft neutrals, there’s an idea here for your wall.
Most of these projects take under an hour and use tools you probably already have at home. Grab a screwdriver, and let’s get started.
Why Small Details Like Switch Plates Matter
Interior designers often talk about the 80/20 rule, where the big furniture sets the tone and the small details finish the story. A switch plate is one of those small details, and it sits at eye level in almost every room of the house.
Because switch plates are small, they are also low-risk. You can experiment with a color, pattern, or texture that feels a little bold, and if you do not love it, swapping it out costs very little time or money.
This makes switch board art ideas a great entry point if you are new to DIY decorating. You get to practice real design skills, like color pairing and texture mixing, on a surface that takes minutes to redo.
1. Painted Ombre or Color-Block Switch Plates
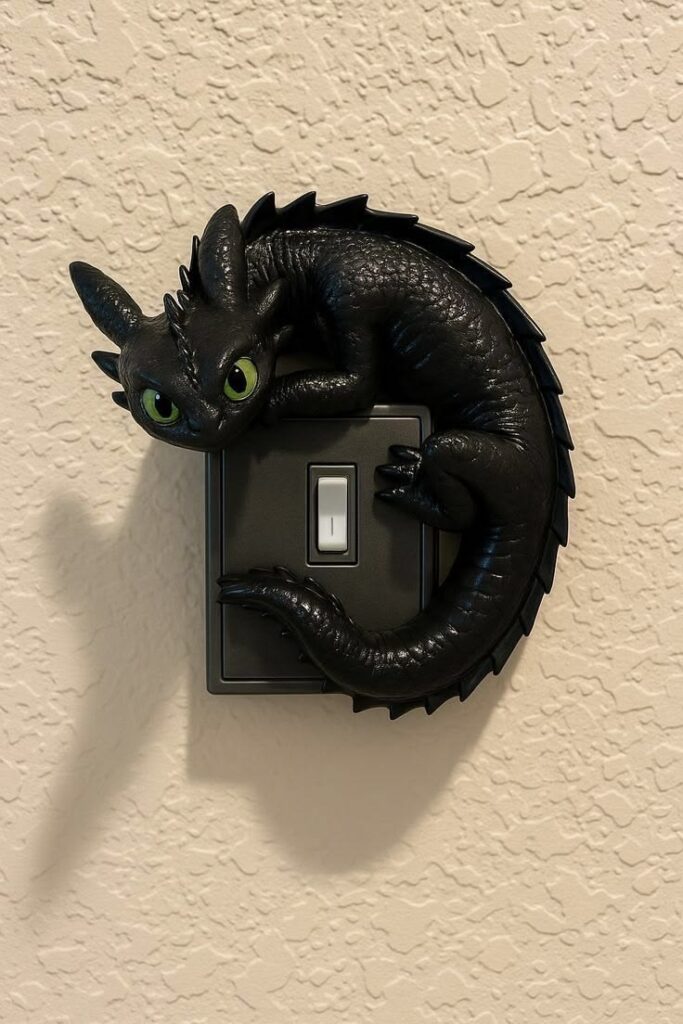
A painted switch plate turns a plain plastic square into a tiny color story that ties the whole wall together. It is also the easiest way to test a bold color before committing to a full accent wall.
Best Placement
This works best near seating areas, hallways, and entryways where people naturally pause and look around.
Styling Tips
Pick two or three shades already in your room, then blend them with a small sponge for a soft ombre fade. Finish with a matte varnish so the paint holds up to daily fingerprints.
Budget Considerations
You can do this for under $10 using leftover craft paint and a basic plastic plate.
Pro Tip
Sand the plate lightly before you paint so the color grips the plastic instead of sliding off. If you want a crisp color-block look instead of a fade, use painter’s tape to keep each section sharp.
2. Wallpaper-Matched Switch Covers
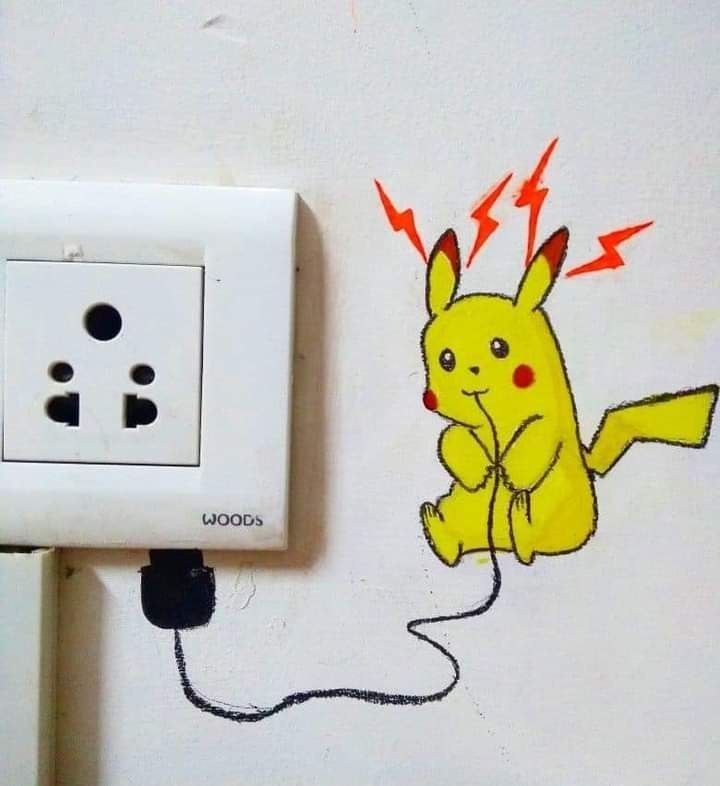
Matching the switch plate to your wallpaper makes the fixture blend right into the wall, so your eye focuses on the room instead of the hardware.
Best Placement
This idea shines in bedrooms, powder rooms, or any wall with patterned wallpaper.
Styling Tips
Cut a small scrap of leftover wallpaper to the exact plate size, then attach it with a thin layer of decoupage glue. Trim the edges neatly before you screw the plate back on.
Budget Considerations
This one is nearly free if you already have wallpaper scraps left over from a project.
Pro Tip
If your wallpaper has a large pattern, center a single motif in the middle of the plate so it reads as intentional. A thin coat of clear sealant keeps the paper from peeling at the corners over time.
3. Chalkboard Switch Plates for Notes and Doodles
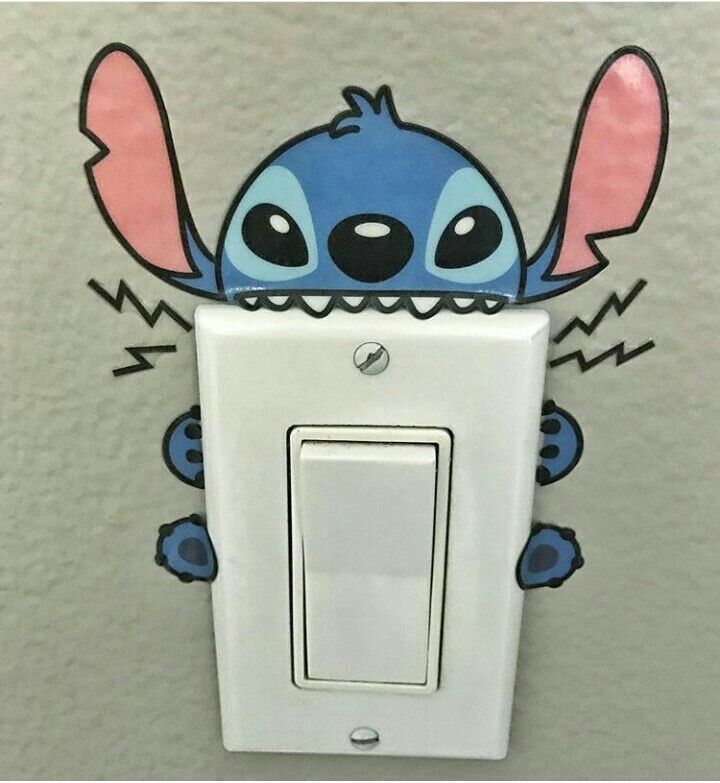
A chalkboard switch plate is both decorative and useful, since it doubles as a spot for quick notes, grocery reminders, or a kid’s doodle of the day.
Best Placement
Try this in the kitchen, entryway, or a home office where people already jot things down.
Styling Tips
Coat the plate with chalkboard spray paint, let it cure for a full day, then write with a chalk marker for cleaner lines. A thin painter’s tape border keeps the edges crisp.
Budget Considerations
A can of chalkboard spray paint runs about $5 to $8 and covers several plates.
Pro Tip
Wipe the plate down with a damp cloth once a week so old chalk dust does not build up around the switch. A tiny shelf or hook nearby for the chalk keeps this idea both cute and practical.
4. Decoupage Switch Plates with Vintage Paper or Fabric
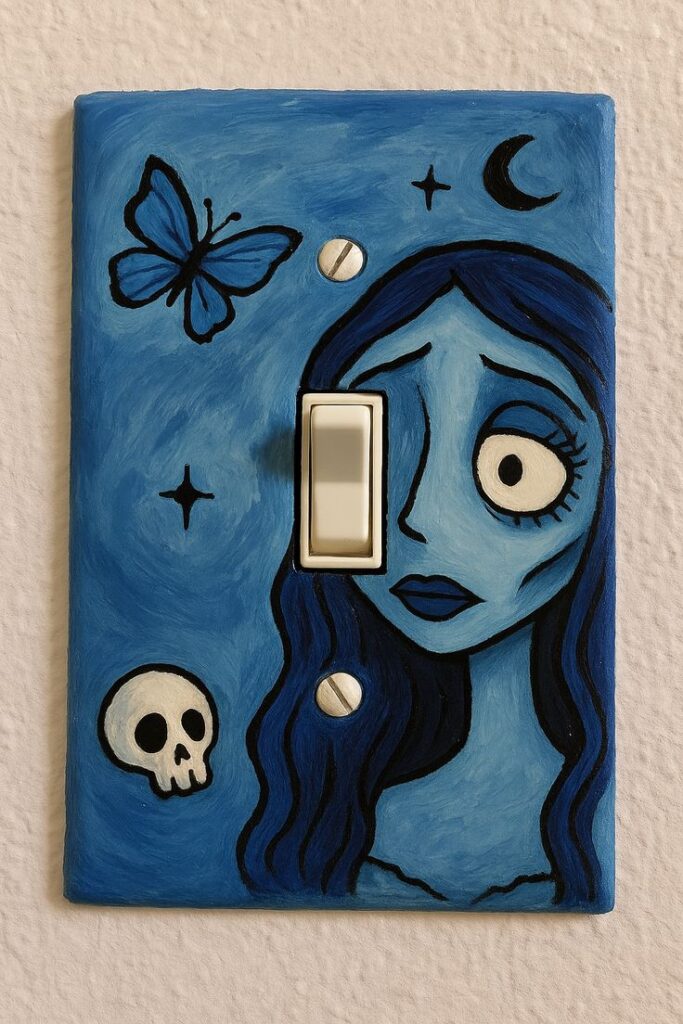
Decoupage adds texture and a personal story to your wall, whether you use an old map, sheet music, or a favorite fabric scrap.
Best Placement
This idea feels right at home in hallways, reading nooks, or any space with a vintage or eclectic style.
Styling Tips
Layer thin strips of paper or fabric with mod podge, smoothing out bubbles as you go. Seal the finished plate with a clear top coat for durability.
Budget Considerations
Most decoupage switch plates cost $5 to $10, especially if you reuse paper you already own.
Pro Tip
Thin paper works better than thick cardstock, since it wraps around the plate’s edges without bulky creases. Try tearing the paper by hand instead of cutting it for a softer, more organic edge.
5. Metallic and Mirrored Switch Plate Accents
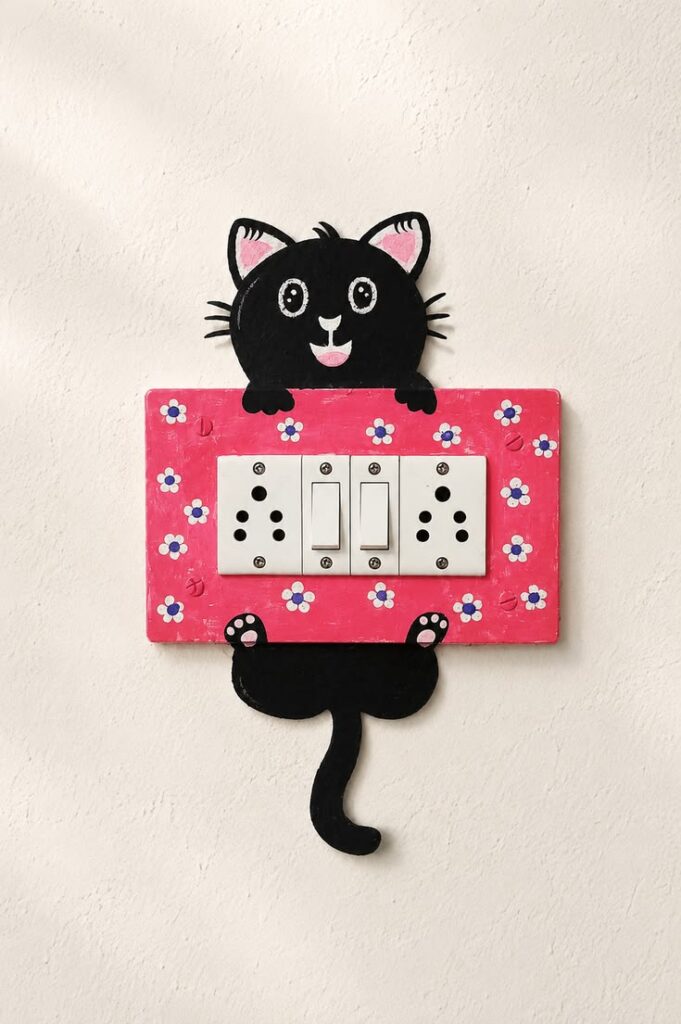
Metallic finishes catch the light and instantly add a touch of glam, even in a small detail like a switch plate.
Best Placement
Dining rooms, entryways, and walls near mirrors or metallic light fixtures are ideal spots.
Styling Tips
Use metallic spray paint or peel-and-stick mirror sheets, and try to match the finish to your existing cabinet or door hardware.
Budget Considerations
Expect to spend around $8 to $15 depending on the material you choose.
Pro Tip
A light spray of clear coat protects the metallic finish from smudges near light switches, which get touched constantly. Stick to one metallic tone per room so the accents feel coordinated instead of mismatched.
6. Gallery Wall Frame Around the Switch Board
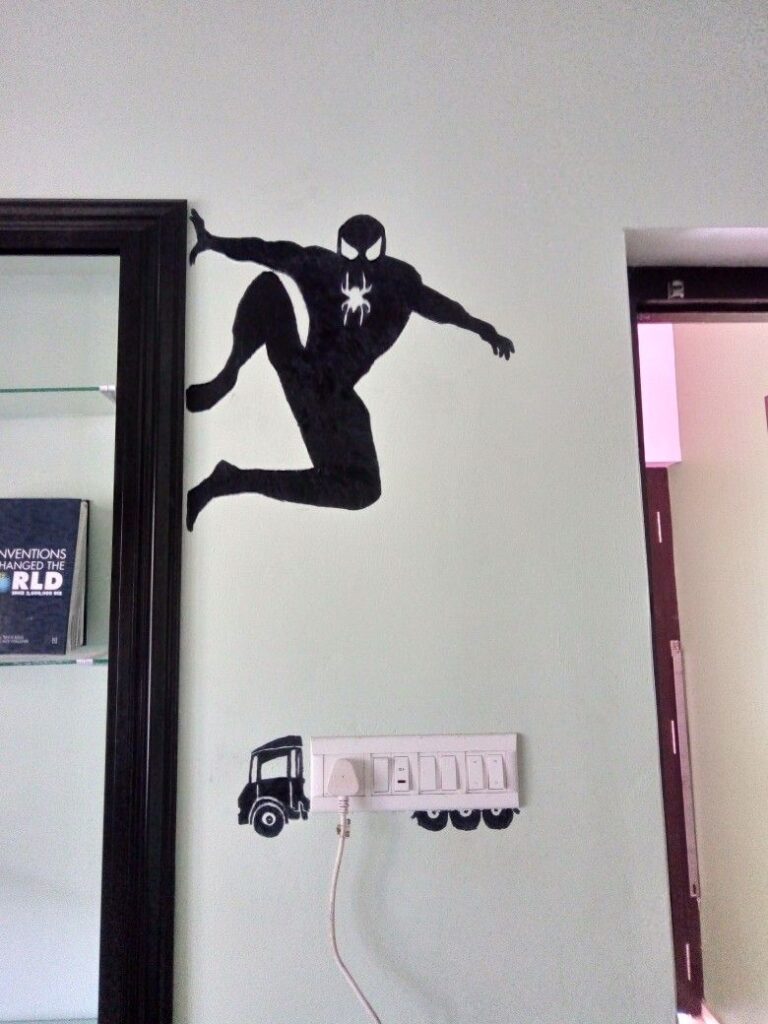
Instead of hiding the switch board, this idea makes it the anchor of a small gallery wall, so it feels intentional rather than out of place.
Best Placement
This works especially well on living room accent walls or along staircases, similar to how a well-planned Fire TV wall idea treats the whole wall around a screen as one cohesive display.
Styling Tips
Arrange a few small frames, prints, or postcards around the switch plate, keeping the spacing even on all sides. Choose frames in one consistent color for a polished look.
Budget Considerations
This can cost nothing if you reuse frames you already have stored away.
Pro Tip
Lay your frames out on the floor first to plan the spacing before you commit to any nail holes. Leave about two to three inches between each frame so the switch plate does not feel crowded.
7. Nature-Inspired Switch Plates
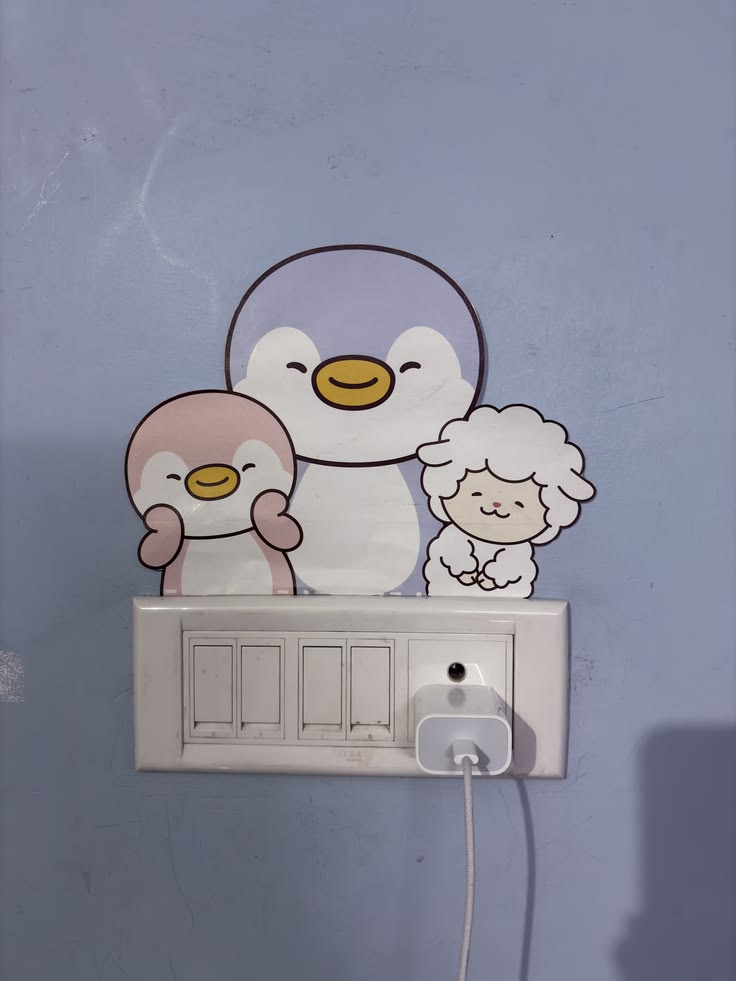
Pressed flowers, leaves, or wood veneer bring a bit of the outdoors in and soften rooms that feel too modern or sterile.
Best Placement
Sunrooms, bedrooms, and bathrooms with plants already on display are perfect spots for this look.
Styling Tips
Press flowers flat for a few days, then seal them onto the plate under a layer of clear resin or laminate sheet. Wood veneer plates work well for a cozy, cabin-style room.
Budget Considerations
Plan on spending $6 to $12, depending on whether you use resin or a simpler laminate.
Pro Tip
Choose sturdy flowers like pansies or ferns, since delicate petals can crumble during the pressing process. Let the resin cure in a dust-free spot so the surface stays perfectly clear and smooth.
8. Geometric Pattern Switch Plates
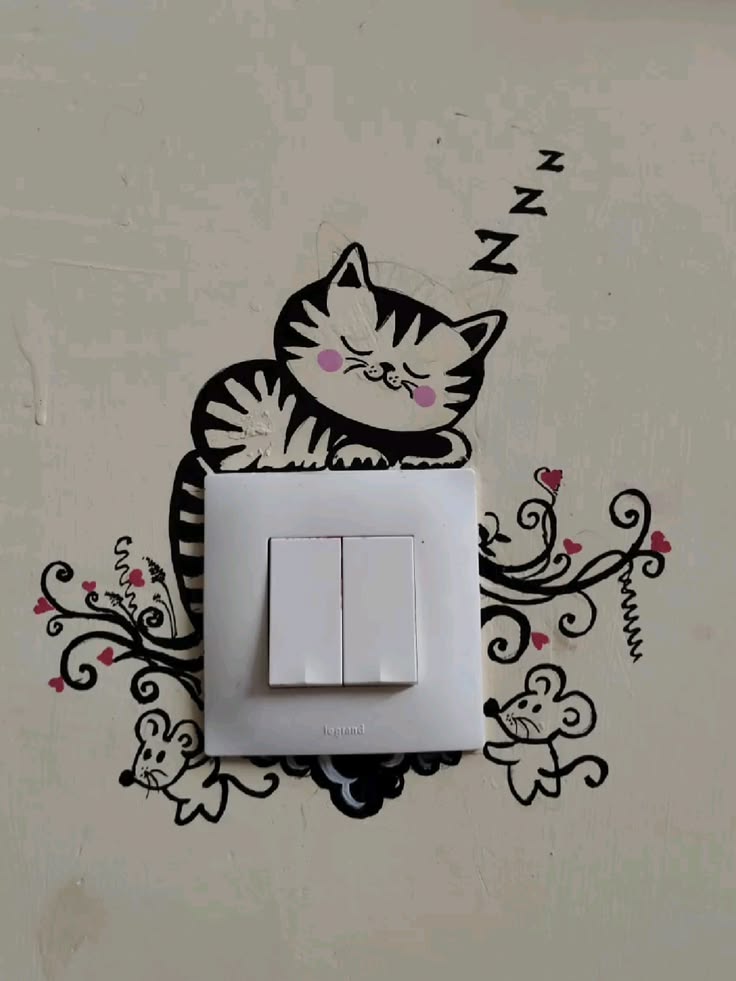
Clean geometric shapes fit right into modern and minimalist rooms, and they are simple enough to paint freehand or with tape.
Best Placement
Home offices and modern living rooms benefit most from this crisp, structured style.
Styling Tips
Use painter’s tape to block off triangles, chevrons, or stripes, then paint in a contrasting two-tone color scheme. Peel the tape while the paint is still slightly tacky for the sharpest lines.
Budget Considerations
Most geometric switch plates cost $5 to $10 in paint and tape.
Pro Tip
Sketch your pattern on paper first so the angles line up before you touch the actual plate. Two neutral tones, like white and charcoal, keep this look timeless if your decor style changes later.
9. Hand-Painted Mini Murals Around the Switch
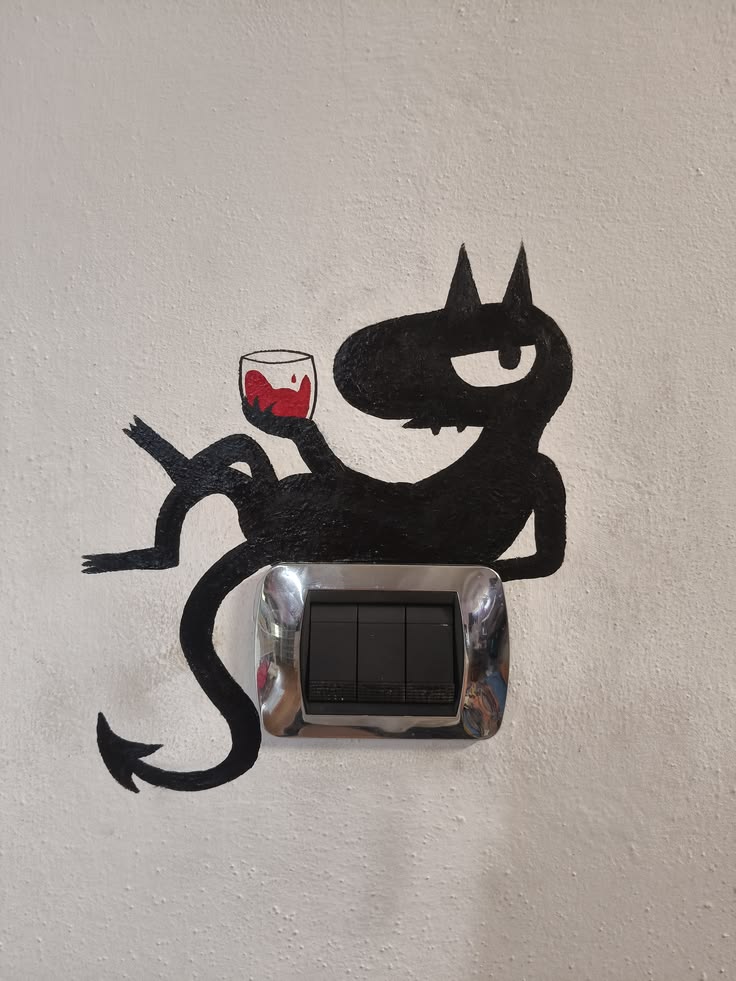
This idea takes the art beyond the plate itself and onto the wall, turning the switch into the starting point of a small mural. It works a lot like a vision board idea, where a small starting point grows into a bigger, personal display.
Best Placement
Kids’ rooms, playful hallways, and any wall you want as a real focal point work well here.
Styling Tips
Paint a simple scene, like balloon strings, a climbing vine, or sun rays, that radiates out from the switch. Keep the design loose and hand-drawn for a charming, unpolished feel.
Budget Considerations
This can cost as little as $0 to $15 if you already own a few paint colors.
Pro Tip
Sketch the mural lightly in pencil first so you can adjust the shape before adding any paint. Kids often love picking the theme themselves, which makes this a fun weekend project to do together.
10. Vinyl Decal and Sticker Switch Plates

Decals are the easiest, most mess-free way to decorate a switch plate, and they peel off cleanly whenever you want a change.
Best Placement
This is a smart pick for rentals, dorm rooms, or any space where you cannot paint the walls.
Styling Tips
Choose decals that echo your wall art or throw pillows so the small detail feels connected to the bigger room. Layer two or three small icons instead of one large sticker for a playful effect.
Budget Considerations
Decal sets typically run $3 to $8 for enough to cover several switch plates.
Pro Tip
Warm the decal slightly with a hairdryer before you peel the backing off, since this helps it stick smoothly without air bubbles. Wipe the plate with rubbing alcohol first so dust and grease do not weaken the adhesive.
11. Themed Kids’ Room Switch Plates
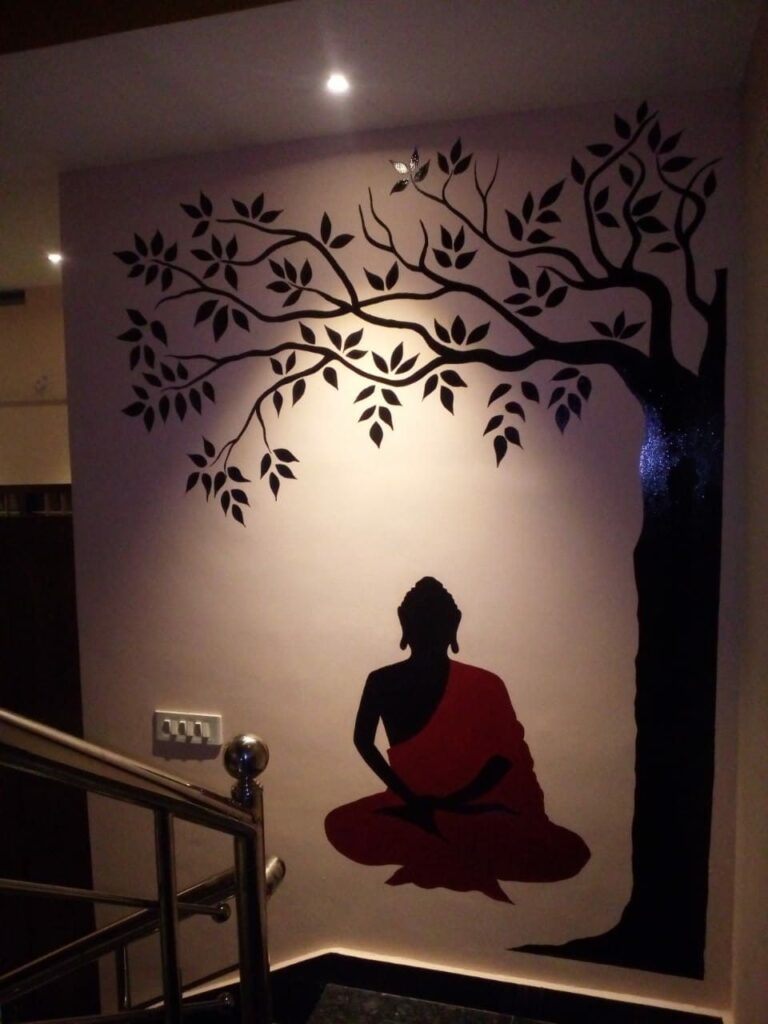
A themed switch plate turns an everyday object into something a child actually notices and enjoys, whether the room’s theme is space, jungle, or ocean.
Best Placement
Nurseries, kids’ bedrooms, and playrooms are the natural home for this idea.
Styling Tips
Match the plate’s character or pattern to the bedding or curtains already in the room. Glow-in-the-dark paint adds a fun surprise once the lights go off.
Budget Considerations
Themed plates cost around $6 to $12, whether store-bought or hand-painted.
Pro Tip
Involve your child in choosing the design so the switch plate feels like it truly belongs to their room. As their tastes change, a themed plate is one of the easiest details to swap out without repainting the whole space.
12. Textured Switch Plates
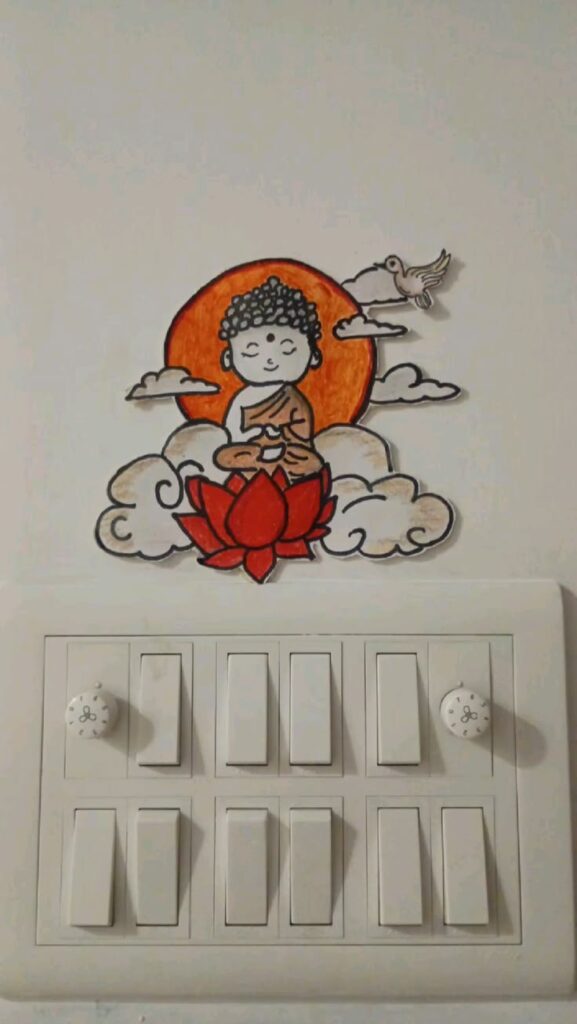
Rope, cork, and fabric wraps add tactile interest to a wall and pair naturally with coastal or boho decorating styles.
Best Placement
Boho living rooms, coastal bathrooms, and cozy reading corners all suit this texture-driven look.
Styling Tips
Wrap thin rope around the plate in a tight spiral, or cut cork tiles down to size for a warm, natural finish. Jute twine works well too if you want a beachy feel.
Budget Considerations
Materials usually cost $4 to $10, and most of it can be leftover from other craft projects.
Pro Tip
Hot glue holds rope and cork in place better than craft glue, especially in humid rooms like bathrooms. Keep the texture low-profile around the switch itself so the plate still opens and closes easily.
13. Statement Switch Plates in Unique Materials
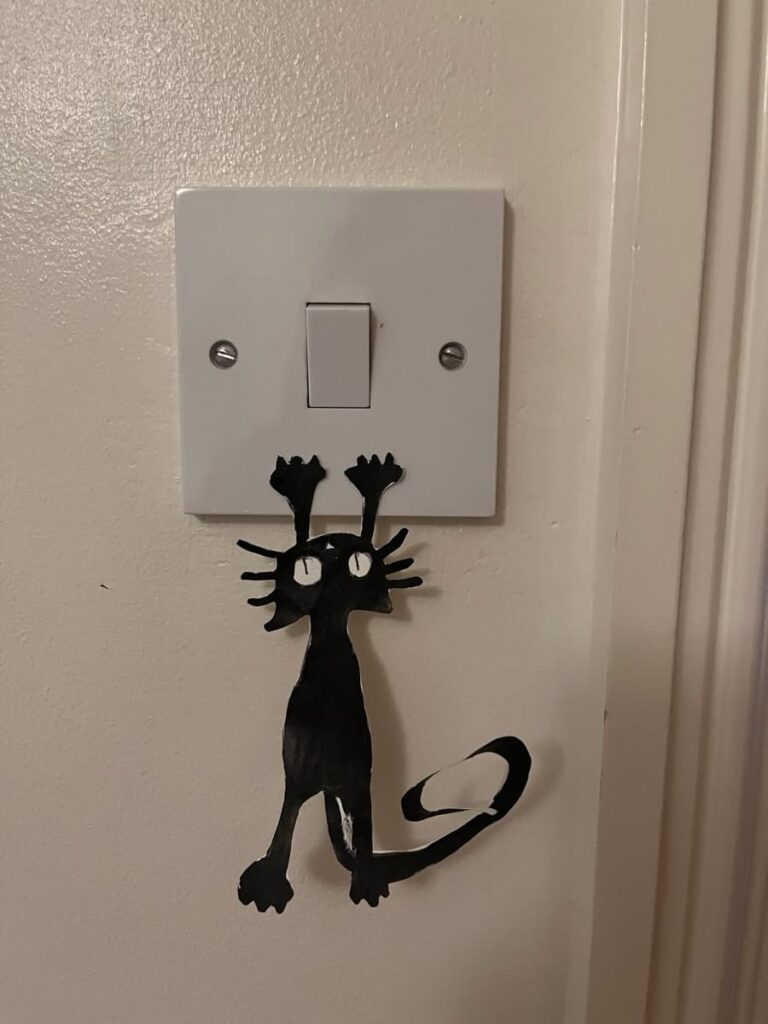
Brass, marble-look, and acrylic plates instantly raise the finish level of a room and match higher-end fixtures already in place.
Best Placement
Dining rooms, primary bedrooms, and upscale bathrooms are where these statement plates shine brightest.
Styling Tips
Match the plate finish to your existing hardware, whether that is brass, matte black, or brushed nickel. Marble-look contact paper gives you the same luxe effect on a much smaller budget.
Budget Considerations
Premium plates run $10 to $25, or as little as $3 if you DIY with contact paper.
Pro Tip
Order a sample swatch before you buy contact paper in bulk, since finishes can look different under real lighting than on a screen. A single statement plate near the front door sets the tone for the whole home.
Tips for Choosing the Right Switch Board Art
A few smart choices will help your switch board art idea look great for years instead of just a few months. Think of this like a quick checklist before you start any project on this list.
- Match your existing color palette: pull one or two colors from your walls, curtains, or rug so the plate feels planned, not random.
- Think about the room’s traffic: high-touch areas like kitchens and entryways need a more durable finish, like sealed paint or laminate.
- Keep scale in mind: a single small switch plate can get lost on a large wall, so pair it with nearby art or a mini mural for balance.
- Consider the whole wall, not just the plate: these small updates work best when they connect to your broader living room decor ideas rather than standing alone.
- Test removable options first: if you rent, start with decals or magnetic covers before committing to paint.
- Plan for cleaning: glossy or sealed finishes wipe clean easily, which matters a lot near a switch that gets touched every single day.
Common Mistakes to Avoid
Even a small project like this can go wrong if you rush it. Here are the mistakes worth avoiding, based on the most common slip-ups people run into.
- Skipping the primer or sealant: paint on plastic plates chips fast without a proper base coat and top coat.
- Painting over the actual switch: always remove the plate and cover the switch itself with tape before you start.
- Choosing a design that clashes with the room: a bright, busy pattern can feel out of place in a calm, neutral space.
- Forgetting to unscrew safely: always turn off the breaker before removing a plate near an outlet, not just the switch itself.
- Overcomplicating a small surface: a switch plate is tiny, so an overly detailed design often reads as clutter instead of art.
Frequently Asked Questions
1. Is it safe to paint a light switch plate?
Yes, as long as you remove the plate first and only paint the plastic or metal cover itself. Never paint directly over the switch or outlet, and let the paint cure fully before reattaching it. If you feel unsure at any point, turning off the breaker first is always the safer choice.
2. What paint works best on switch plates?
A spray paint made for plastic or metal, like a multi-surface acrylic spray, sticks well and dries with an even finish. Adding a matte or satin sealant afterward helps the design hold up to daily use. Avoid thick, glossy paints, since they tend to chip faster around the screw holes.
3. Can renters try these switch board art ideas?
Absolutely, and decals, magnetic covers, and removable wallpaper scraps are the safest options for rentals. These give you the same creative look without any permanent change to the wall. Just keep the original plain plate stored away so you can swap it back before you move out.
4. How often should switch plate art be replaced?
Most painted or decoupaged plates last a few years with normal use before they need a refresh. High-traffic spots like kitchens may need a touch-up sooner, since they get bumped and touched more often. A quick wipe with a soft cloth every week also helps any design last longer.
5. Do switch board art ideas work in every room?
Yes, this trend adapts to almost any space, from a playful kids’ room to a formal dining room. The key is picking a style, material, and color that match the room’s overall mood. Even a single upgraded plate can nudge an entire room to feel more finished.
Conclusion
Your switch plates do not have to stay plain forever. With a little paint, some scrap paper, or a simple decal, they can become one of the most charming small details in your home.
Pick one idea from this list that fits your style and your budget, and try it this weekend. Once you see how much personality a single switch plate can add, you may find yourself upgrading every wall in the house.


